In Part 1, I introduced the architecture and shown some sample charts of my Smart campus project. The non-intrusive use of WIFI data for campus services and student experience is really cool.
As we are approaching the start of university term, I have reduced time to work on this project. So my focus was to prototype a “student-facing” application that visualise live building information. The idea is students can tell which computing labs are free, where to find quiet study areas or check if student helpdesk is too busy to visit. Security team can also use that to see if there is any abnormal activities at certain time of the day.
The chart below shows a screenshot of a live floor heatmap with breakdowns of lecture rooms (labelled white), study areas (also labelled white), staff areas (labelled black), and service areas (labelled grey).
floor heatmap (not for redistribution)
Technically the application is split into three parts: user facing front-end (floor chart), data feed (JSON feed) and backend (data processing). The data feed layer provides the necessary segregation so that user requests don’t trigger backend operations directly.
The front-end chart is still based on Highcharts framework though I needed to manually draw the custom map using Inkscape based on actual floor map, export the map as SVG, convert it to map JSON using Highcharts’ online tool. At the same time, the mapping between areas (e.g., lecture rooms) and their corresponding APs must also be recorded in the database. This is a very time consuming process that requires a bit of graphic editing skills and a lot of patience.
The backend functions adopt a “10 minute moving average window” and periodically calculate the AP/area device population to generate data for each area defined in the custom floor map. I also filtered out devices that are simply passing by APs to reduce noise in data (e.g., a person walking along the corridor will not leave a trace). The data is then merged with the floormap JSON to generate the data feed every few minutes in static JSON file format.
A finishing touch is the chart annotation for most floor areas. I use different labelled colours so areas of different functionalities can be clearly identified.
Google Tilt Brush (TB) is a virtual art studio that enables artists to create paintings in VR. It’s packed with features for editing and sharing. As physical artworks require a gallery for exhibition, TB VR paintings is in need of a specialised environment for their audiences. Game engines such as Unity is a natural choice since they offer a wide spectrum of tools to help installing artwork, controlling the environment, and choreographing interactions with the audience. You can also “bake” the outcomes for different platforms.
The standard workflow to port an artwork to Unity is: Export TB artwork as a FBX file -> Import FBX into Unity and add it to the scene -> Apply Brush material to mesh using the content provided by the tiltbrush-toolkit. This work well until you want to do anything specific with each brush stroke such as hand-tracking to see where people touch the artwork (yes, its ok to touch! I even put my head into one to see whats inside). In Unity, artworks are stored in meshes and there is no one-to-one mapping between brush stroke and mesh. In fact all strokes of the same brush type are merged as one big mesh (even when they are not connected) when they are exported from TB. This is (according to a TB engineer) to make the export/import process more efficient.
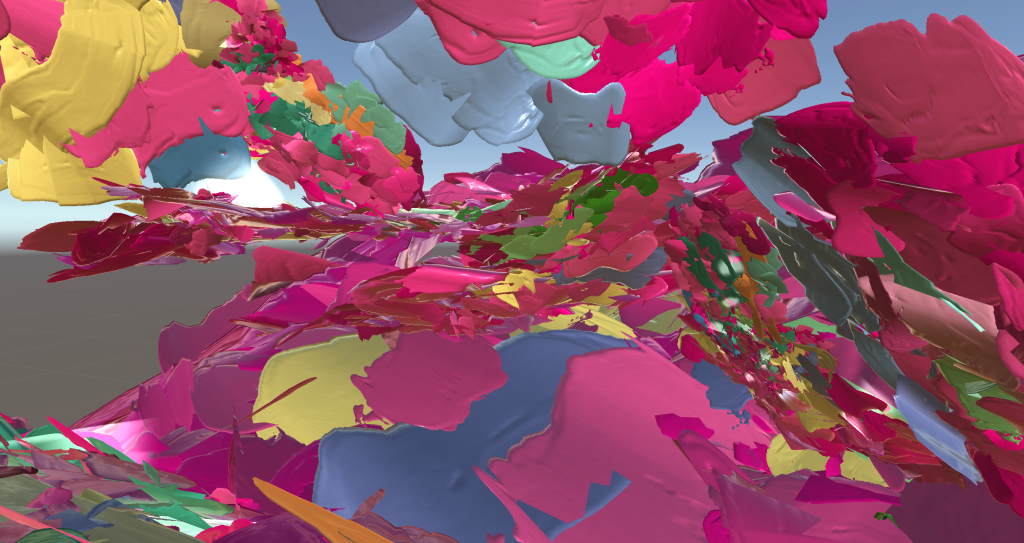
The paint below was done using only one Brush type “WetPaint” in spite of different colour, patterns and physical locations of the strokes. So In the eye of Unity, all five thousands brush strokes is one mesh and there is nothing you can do about it as it’s already fixed in FBX when the artwork was exported from TB. This simply won’t work if an artist wants to continue her creative process in Unity or collaborate with game developers to create interactive content.
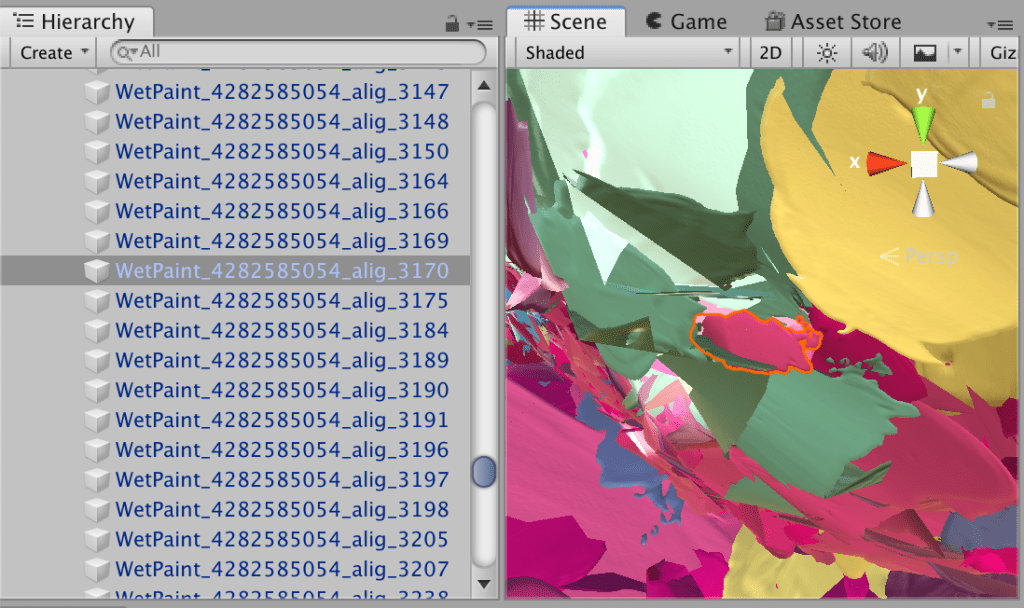
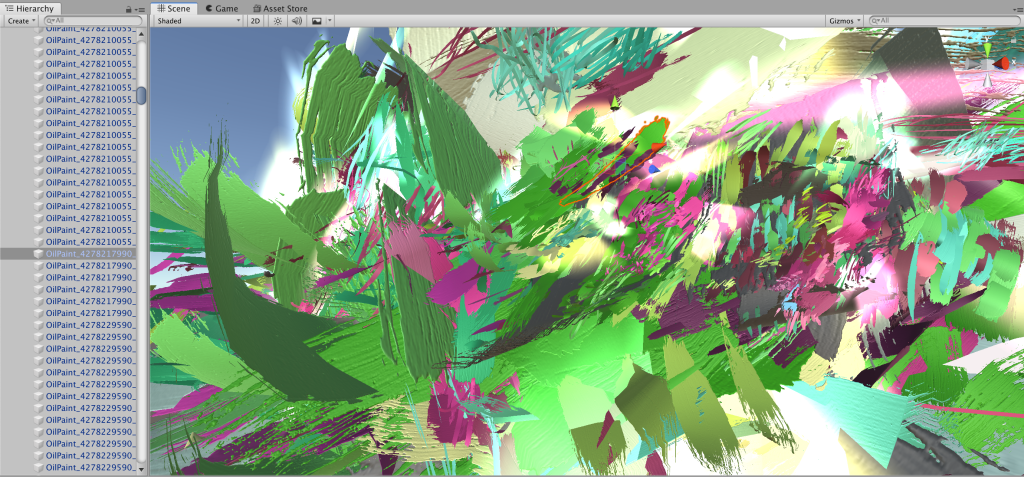
To fix it, we have to bypass TB’s FBX export function. Luckily, TB also exports artworks in JSON format. Using the python-based export tools in tiltbrush-toolkit, its possible to convert JSON to FBX with your own configurations. Judging from the developer comments in the source code, these export tools came before TB supported direct FBX export. Specifically, the “geometry_json_to_fbx.py” script allows us to perform the conversion with a few useful options including whether to merge strokes (“–no-merge-brush”). However, not merging strokes by brush type led to loose meshes in Unity with no obvious clue of their brush type. With some simply modifications to the source code, the script exports meshes with brush type as prefix in mesh names as shown below. The setup makes it easy to select all strokes with the same brush type, lock, and apply brush materials in one go. I also added a sequence number at the end of the mesh name (starting from 1000). Occasionally, we put multiple artworks in the same Unity scene, like a virtual gallery. It is then important to be able to differentiate meshes from different artworks in the asset list. This is done by appending the original JSON filename in the mesh name (“alig” in the picture below). At the moment, we are working on understanding how audience interact with paint of different colours, so the colour of stroke (in “abgr little-endian, rgba big-endian”) is also coded for quick access in Unity. As a whole, the mesh naming scheme is: BRUSHTYPE_STARTINGCOLOUR_JSONNAME_ID. All these are based on some simple hacking of the “write_fbx_meshes()” and “add_mesh_to_scene()” function.
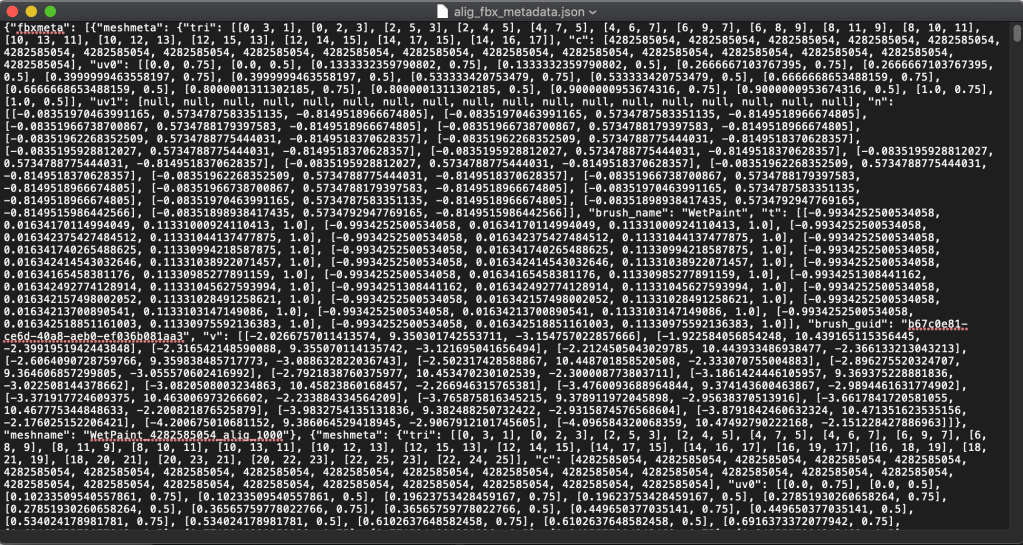
Coding metadata of brush strokes in their names is sufficient in most cases, though there are experiments where we need more detailed / find-grained brush information. As far as colour is concerned, it is imperative to log the “colour array” since the colour may change along the stroke. In our mesh names, we only the starting colour. To support better data driven research, we also export the full stroke metadata as a JSON file along the FBX. The schema is:
{‘fbxname’:FBXNAME, ‘fbxmeta’: [{‘meshname’:MESHNAME, ‘meshmeta’: {‘brush_name’:BRUSHNAME, ‘brush_guid’:BRUSH_GUID, ‘v’:V, #list of positions (3-tuples) ‘n’:N, #list of normals (3-tuples, or None if missing) ‘uv0’:UV0, #list of uv0 (2-, 3-, 4-tuples, or None if missing) ‘uv1’:UV1, #see uv0 ‘c’:C, #list of colors, as a uint32. abgr little-endian, rgba big-endian ‘t’:T, #list of tangents (4-tuples, or None if missing) ‘tri’:TRI #list of triangles (3-tuples of ints) } },{},…] }

 Dr Mu Mu